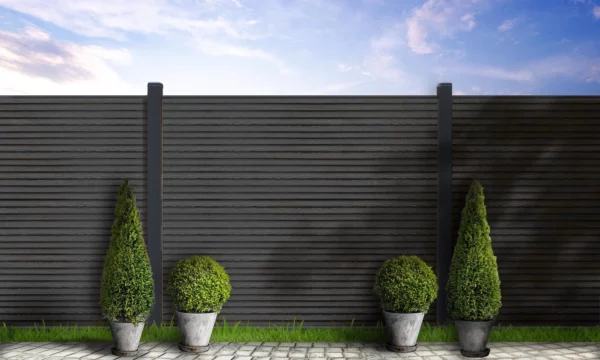
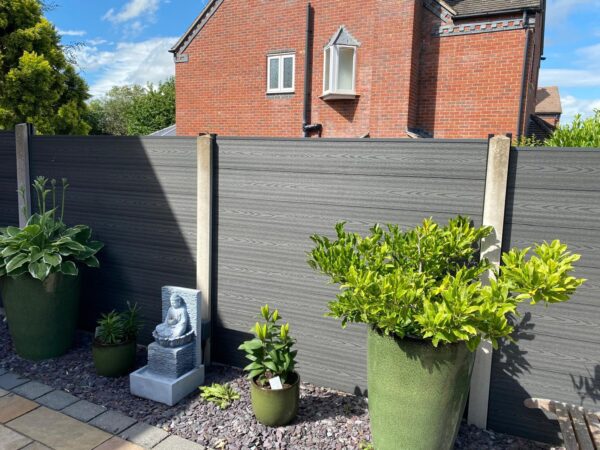
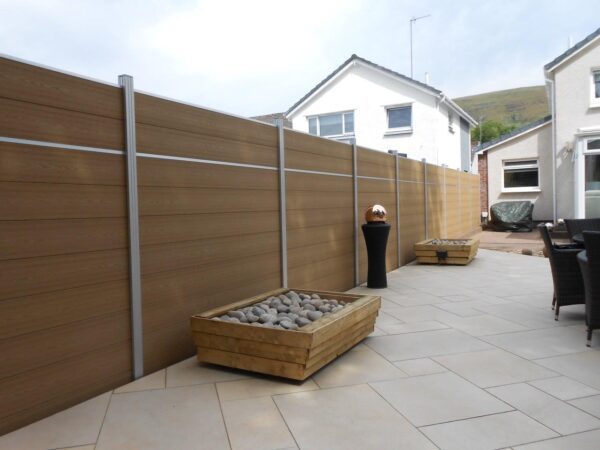
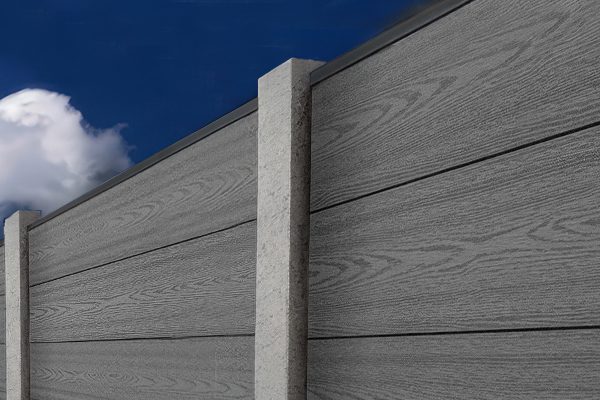
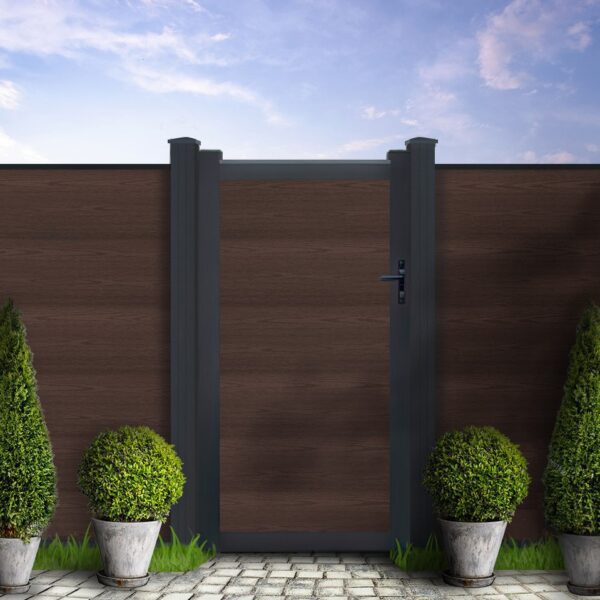
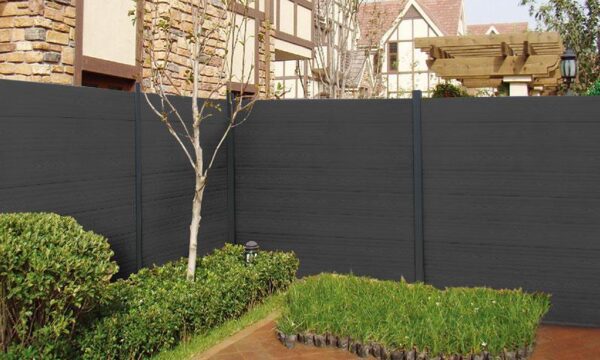
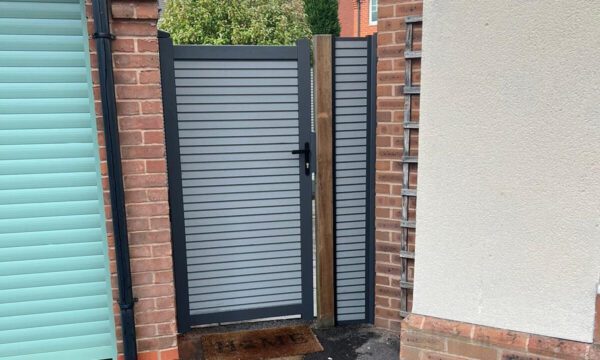
Are you looking to enhance your garden’s privacy and aesthetics? Installing composite fencing might be just the solution you need.
This guide will walk you through the process of how to install composite fencing, ensuring you achieve a professional finish while enjoying the benefits of this durable and low-maintenance option.
Planning Your Composite Fencing Project
Before diving into the installation process, proper planning is crucial. Here’s how to get started:
- Measure your garden accurately
- Calculate the required materials
- Choose the right height for your fence
- Consider any local regulations or permits needed
Remember, precise measurements can save you time, money, and potential headaches down the line.
Essential Tools and Materials
To install your composite fencing successfully, you’ll need the following:
- PPE (gloves, protective eyewear, long sleeves, and trousers)
- Tape measure and spirit level
- Post hole digger or borer
- Handsaw or mitre saw (with a 3mm thick multi-material blade)
- Electric drill and cordless screwdriver
- Concrete mix
- Composite fence panels, posts, and accessories
Step-by-Step Installation Guide
1. Mark Your Fence Line
Start by mapping out your fence line using string and stakes. Ensure it’s straight and level, as this will guide your entire installation process.
2. Dig Post Holes
Using your post hole digger, create holes at least 500mm deep. The exact depth may vary depending on your soil type and fence height.
3. Set Your Posts
Place your posts in the holes, using a spirit level to ensure they’re perfectly vertical. Pack the holes with hardcore and concrete, angling slightly for water drainage.
4. Allow Concrete to Cure
Wait at least 24 hours for the concrete to set before proceeding. This patience ensures a stable foundation for your composite fencing.
5. Install Fence Panels
Once the posts are secure, attach your composite fence panels. Ensure they’re level and securely fastened to the posts.
6. Add Finishing Touches
Install any caps or decorative elements to complete your composite fencing project.
Safety First
Remember, safety should always be your top priority when installing composite fencing. Work with a partner, wear appropriate PPE, and use tools carefully.
For a visual guide on how to install composite fencing, check out our installation video:
[Embed e-composite’s installation video here]
Installing composite fencing can be a rewarding DIY project that enhances your garden’s appeal and privacy. By following this guide, you’ll be well-equipped to tackle the task with confidence.
Remember, if you need any additional support or high-quality composite fencing materials, we’re here to help at eComposite Products.
[Embed e-composite’s composite fencing for customers to shop below]
