Planning Your Composite Fence Installation Project
Every great fence installation project starts with a clear plan. Whether you’re fitting panels into soft ground or adapting to pre-existing timber posts, good prep makes all the difference.
Here’s how to get started:
- Measure your outdoor space accurately
- Calculate how many composite fence panels, posts, and accessories you’ll need
- Decide on the height and layout of your fencing
- Check for any planning permission or local regulations
- Consider any changes in terrain if you’re wondering how to install composite fencing on a slope
Precise measurements can save time, money, and ensure your fence fits perfectly the first time.
Tools & Materials for Composite Fencing Installation
To complete your composite fence installation, gather these essentials:
- PPE (gloves, protective eyewear, long sleeves, trousers)
- Tape measure, string line, and spirit level
- Post hole digger or auger
- Electric drill and cordless screwdriver
- Handsaw or mitre saw with a 3mm multi-material blade
- Concrete mix or post supports
- Composite fence boards, posts, caps, and any fencing accessories
How to Install Composite Fencing: Step-by-Step Guide
Follow these steps to install your composite fencing system with confidence.
1. Mark Your Fence Line
Lay out your fence using string and stakes. This defines your layout and ensures you maintain a straight, level line across the fencing area.
2. Dig Holes for Your Fence Posts
Using a post hole digger, dig holes at least 500mm deep. Adjust depth if working with sloped ground, concrete posts, or taller fences.
3. Position and Set Your Posts
Place the composite posts or concrete fence posts into the holes. Use a spirit level to ensure they’re vertical. Fill holes with concrete, sloping the top slightly away from the post to help drainage.
4. Let the Concrete Cure
Allow a full 24 hours for the concrete to set. This ensures a stable foundation and prevents post movement during installation.
5. Install Composite Fence Panels
Fit your composite fence boards between the posts. If stacking boards, remember to leave a small expansion gap to account for expansion and contraction in changing weather.
Tip: If retrofitting, many systems allow you to install composite fencing into existing concrete fence posts for a seamless upgrade.
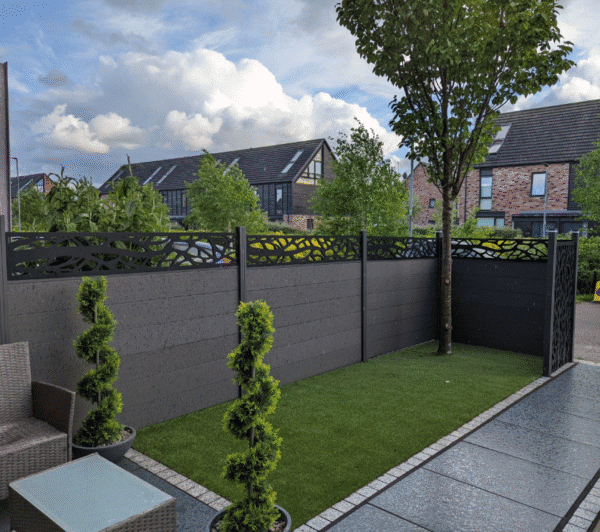
6. Add Finishing Touches
Top off your installation with post caps or decorative trims for a polished, cohesive look.
Installing Composite Fencing on a Slope
If your garden has uneven ground, installing composite fencing on a slope may require a stepped or racked design:
- Stepped fences keep panels horizontal, stepping down in sections
- Racked fences follow the slope, with angled boards
Choose the method that suits your layout and desired appearance.
Composite Fencing Installation Tips
- Leave a 5mm expansion gap between boards
- Avoid using harsh chemicals—clean with mild soap and water
- For best results, plan your install in dry weather
- Use post supports if concrete digging isn’t ideal
- Always double-check levels during install for a clean look
Why Choose eComposite for Your Fencing Project?
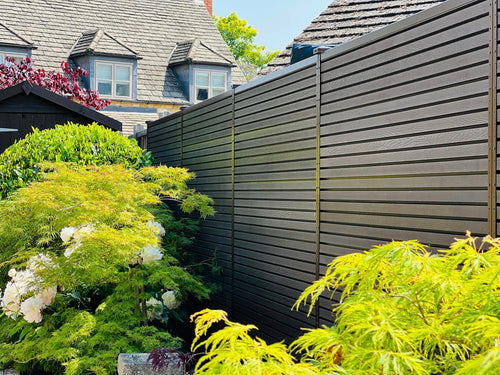
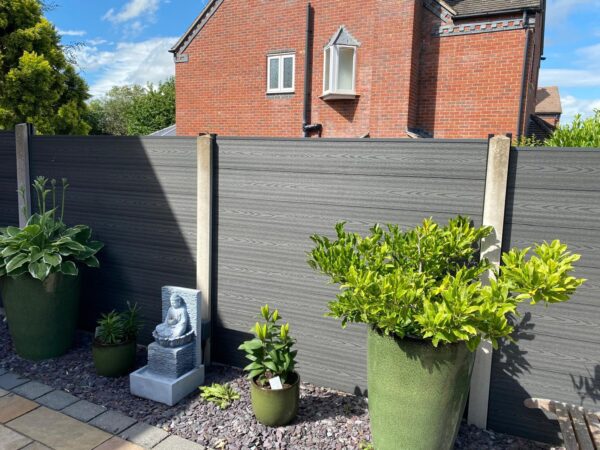
At eComposite Products, we offer a complete range of composite fencing—including boards, posts, caps, and accessories—designed for easy DIY installation and long-term performance.
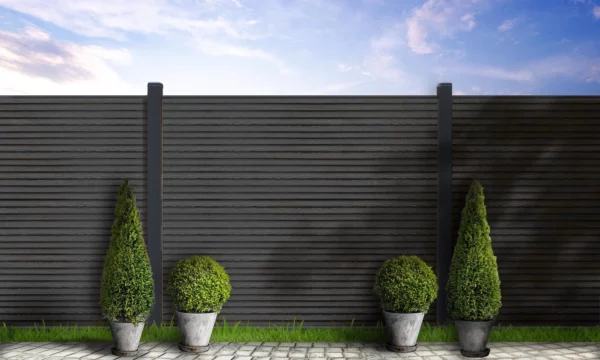
- Durable, customisable, and low-maintenance
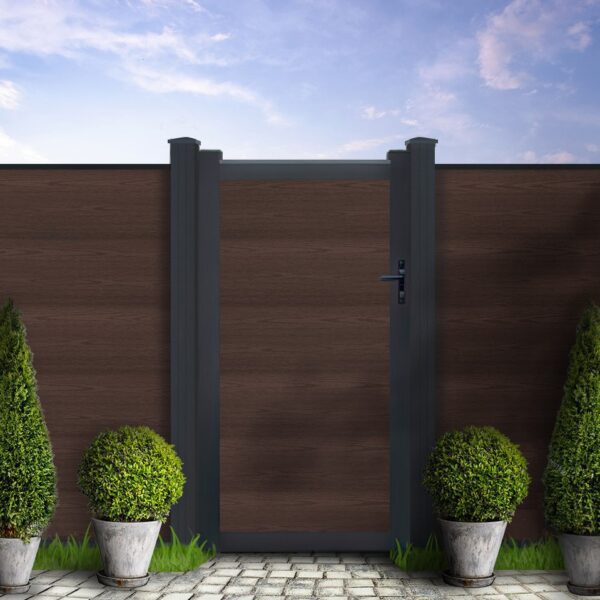
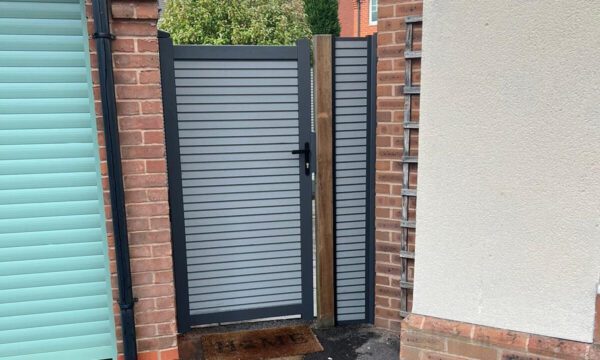
- Ideal for garden fences, decorative fencing, or composite gates
- Made from recycled composite materials
- Engineered to withstand UK weather
- Backed by our ForeverFence™ Lifetime Warranty
Whether you’re a seasoned DIYer or a first-time fence installer, our team is ready to help you fit the perfect composite fence solution for your home.
Need Help With Installation?
If you’re ready to start your fencing installation, or need help selecting the right materials, we’ve got your back.
Call us at 01543 471348 or browse our composite fencing range to order everything you need. From installation advice to product support, eComposite Products is here to make your project a success.